Contents
Overview
There is a lot of conflicting information on the web about the best way to clean and polish a LaserDisc. Importantly cleaning and polishing are two separate activities (although it is sensible to clean a LaserDisc before polishing it). Cleaning a LaserDisc involved removing any surface dirt, oil, dust and other contaminants and can be done as often as required. Polishing a LaserDisc removes physical defects such as scuffs and scratch marks from the disc's surface.
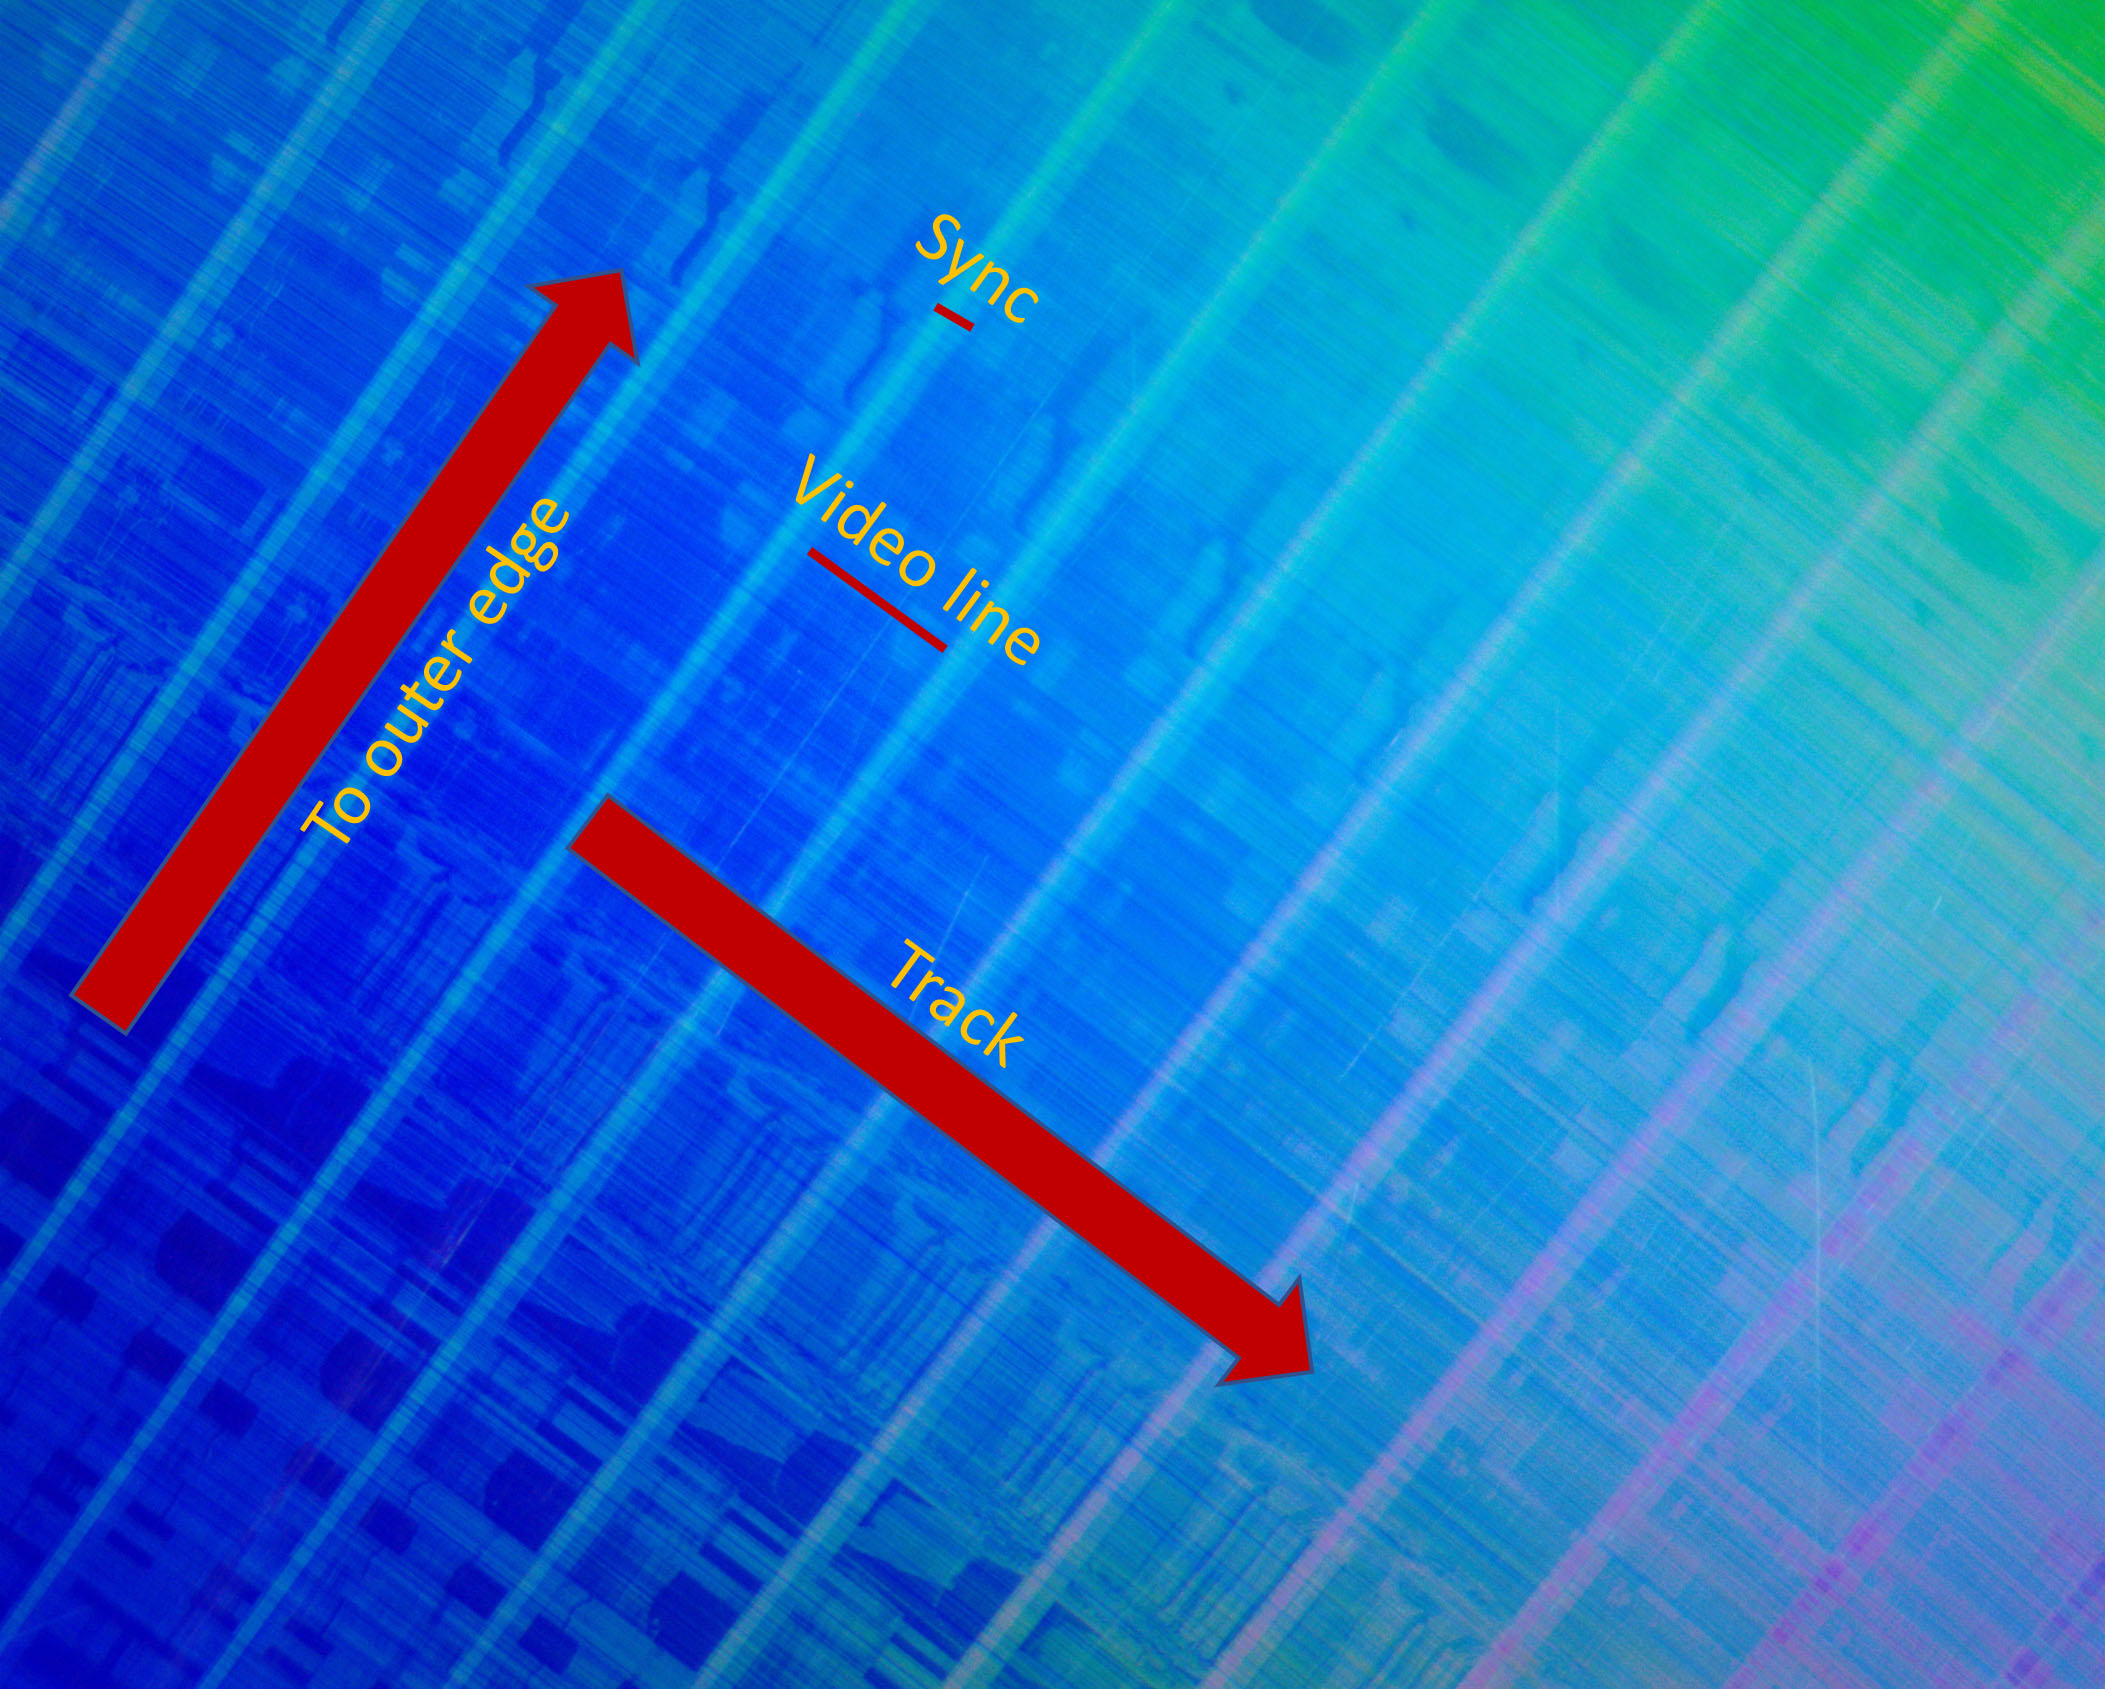
In order to show the effect on the disc's surface (and to provide proof of the cleaning stages), each stage of the cleaning and polishing is accompanied by a close-up photograph of the disc taken with a microscope. The following diagram shows an annotated view of the disc's surface to help understand the visual reference:
Required materials
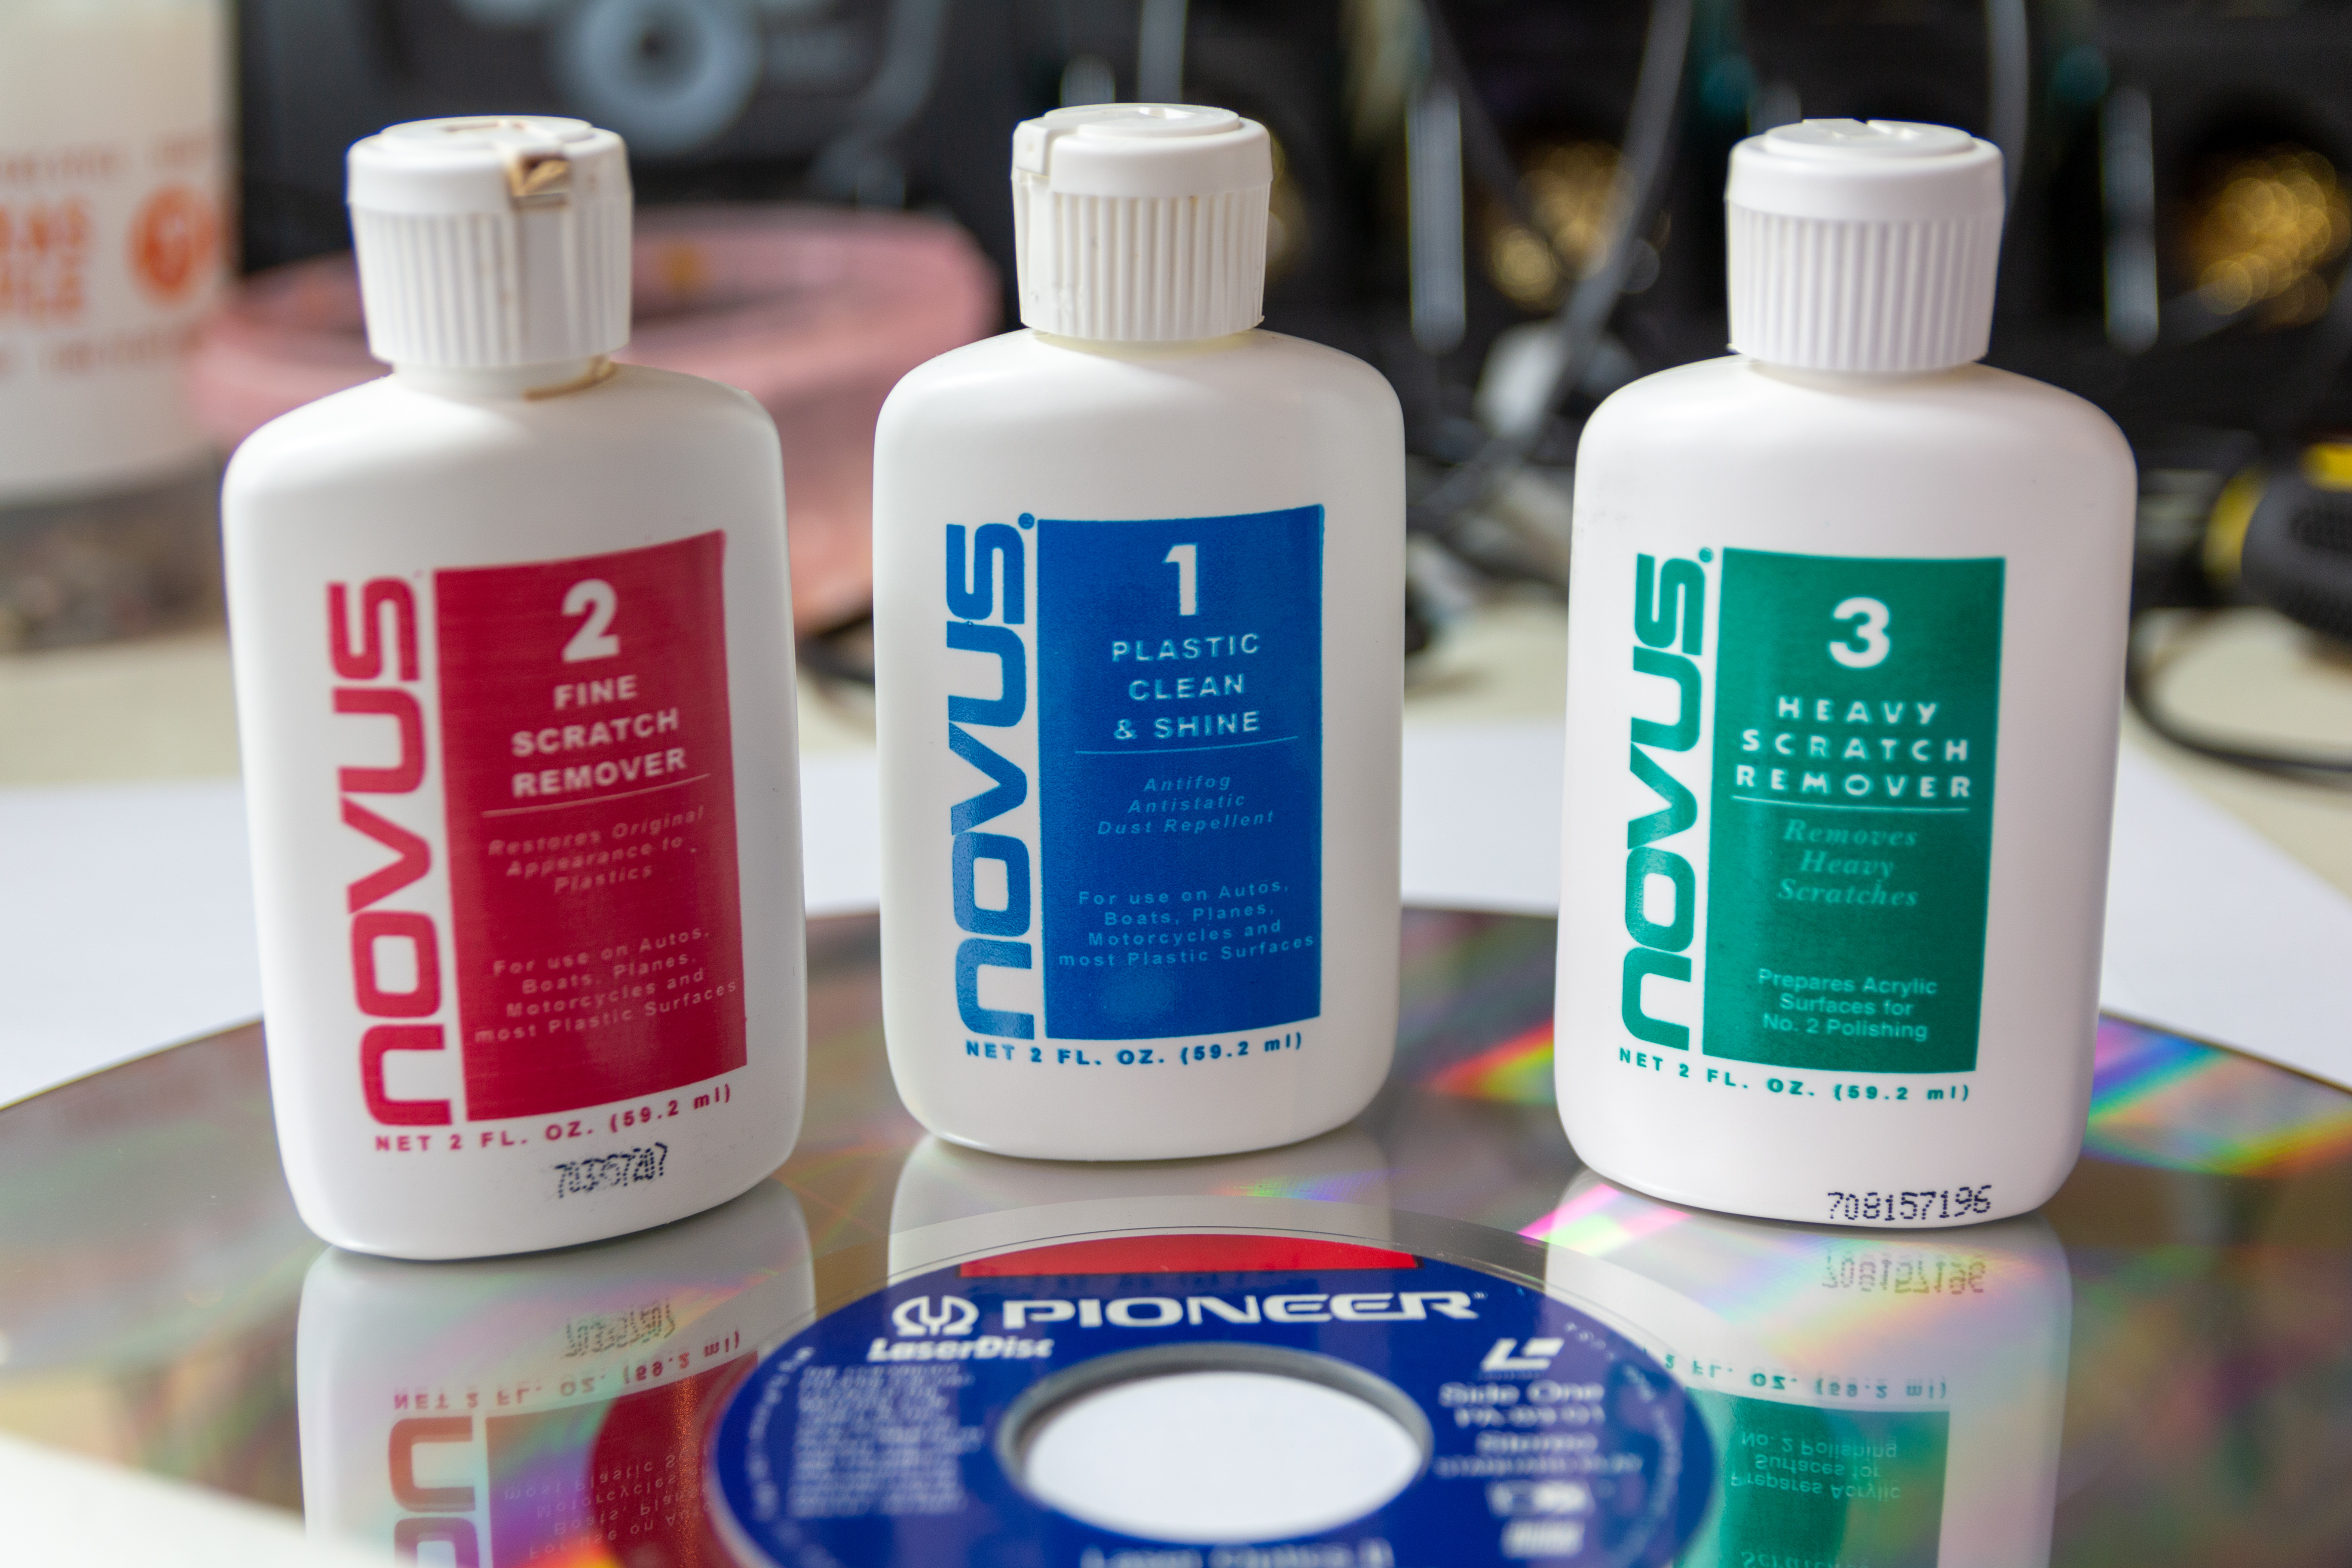
In order to perform the cleaning and polishing you will need a specialist plastic polish, in this article the Novus brand polish will be used (which is widely available from a number of suppliers).
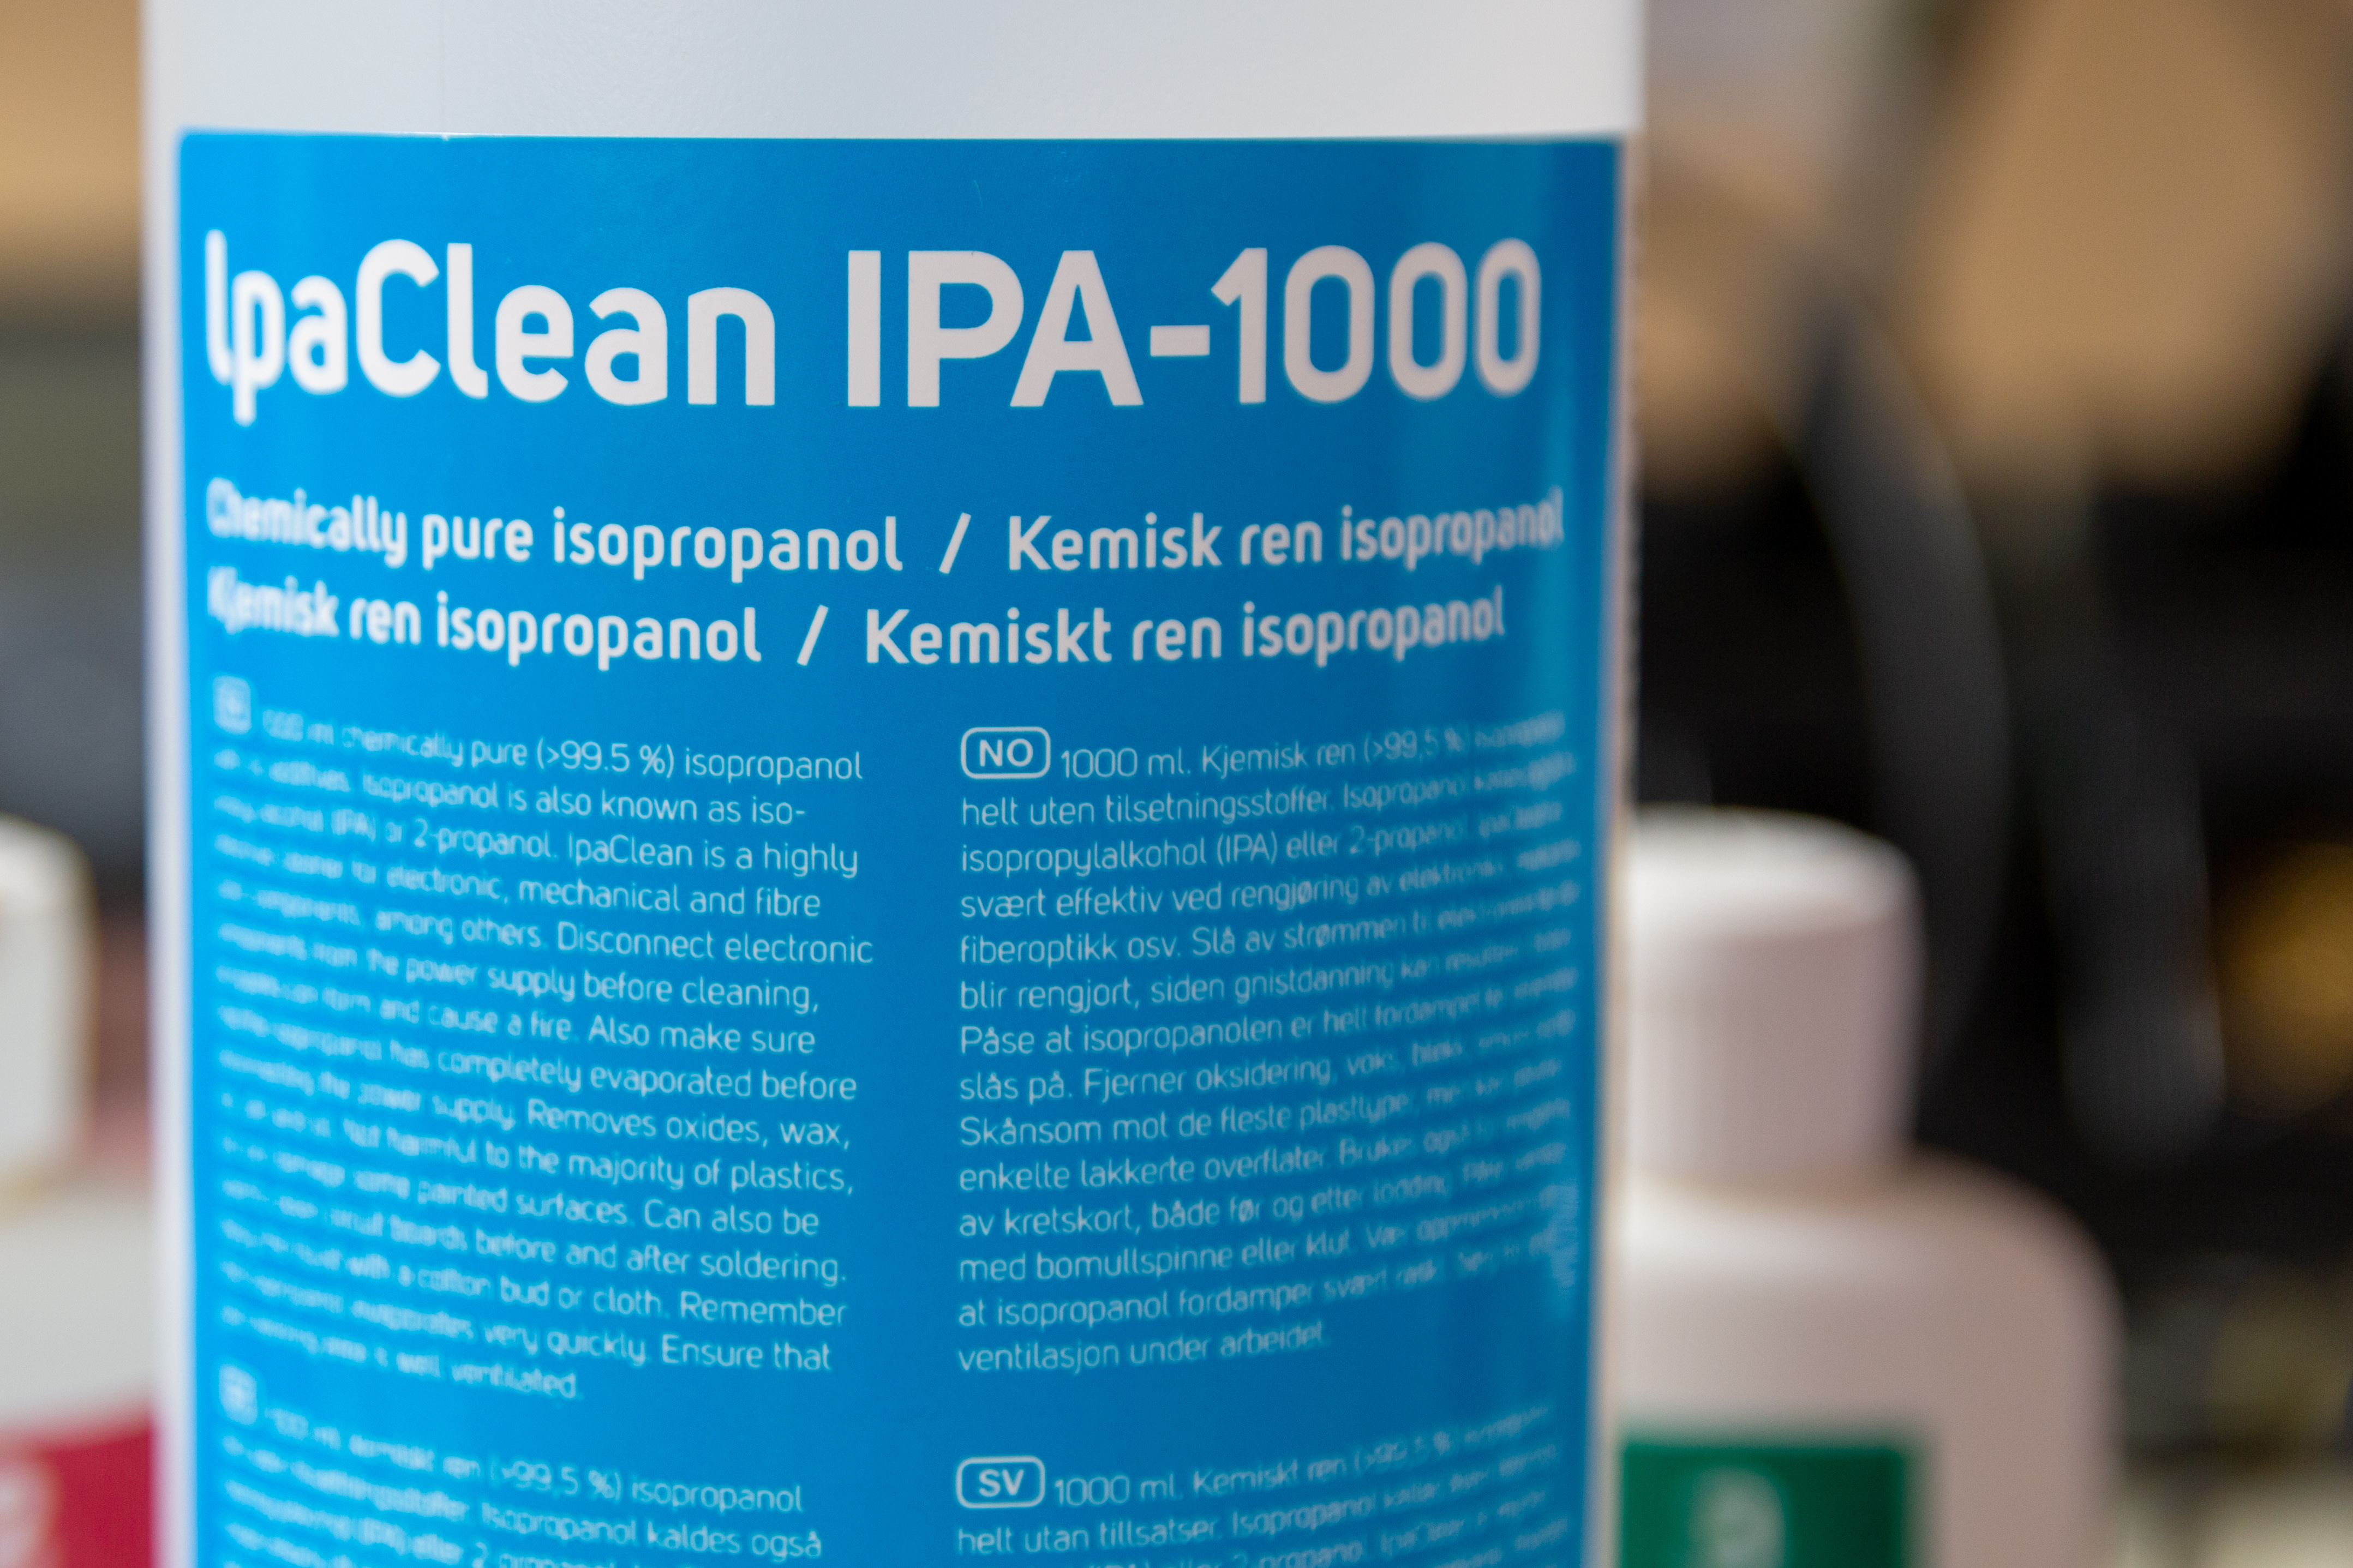
As well as the Novus polish you will also require 'Novus Polish Mate Cloths' (cloths specifically made for use with the polish) and a bottle of isopropyl alcohol such as the following:
The disc's surface
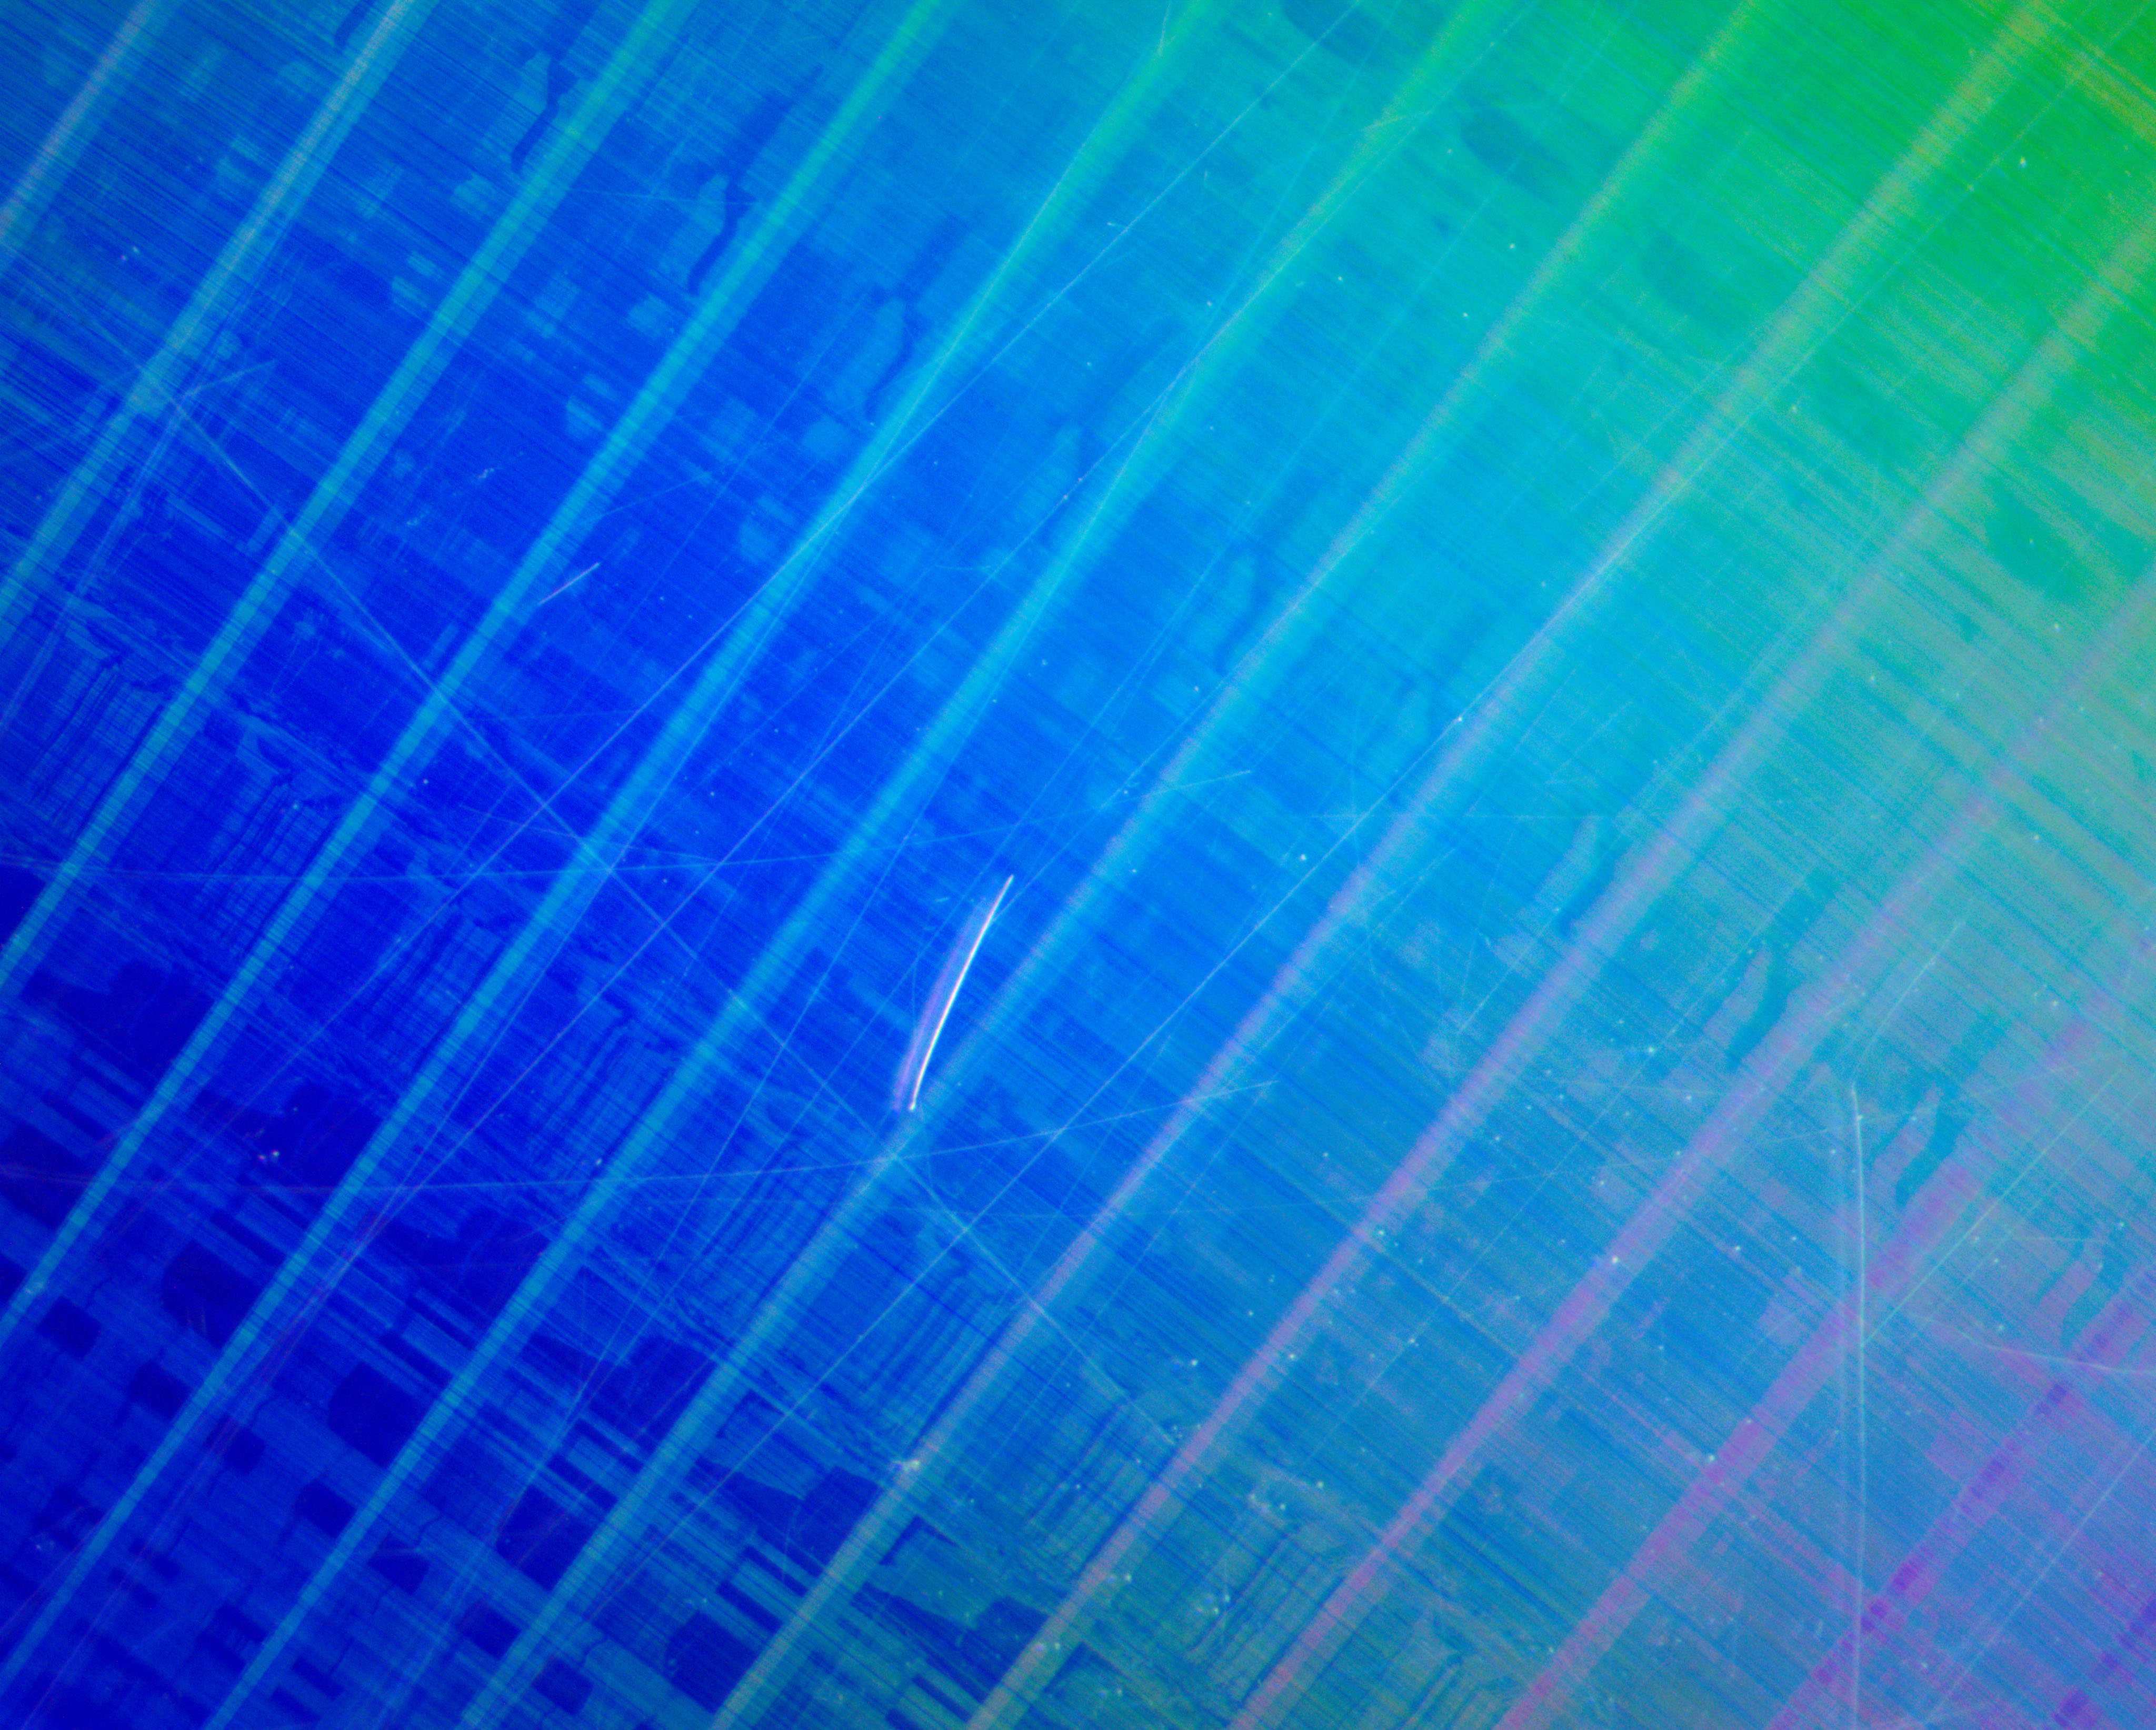
Before cleaning the disc will be coated in both oils (from handling) and dirt/dust contaminates. There are likely to be physical issues such as scratches too if the disc is older and has been handled many times (which will require polishing to remove). The following picture shows a disc's surface before any cleaning:
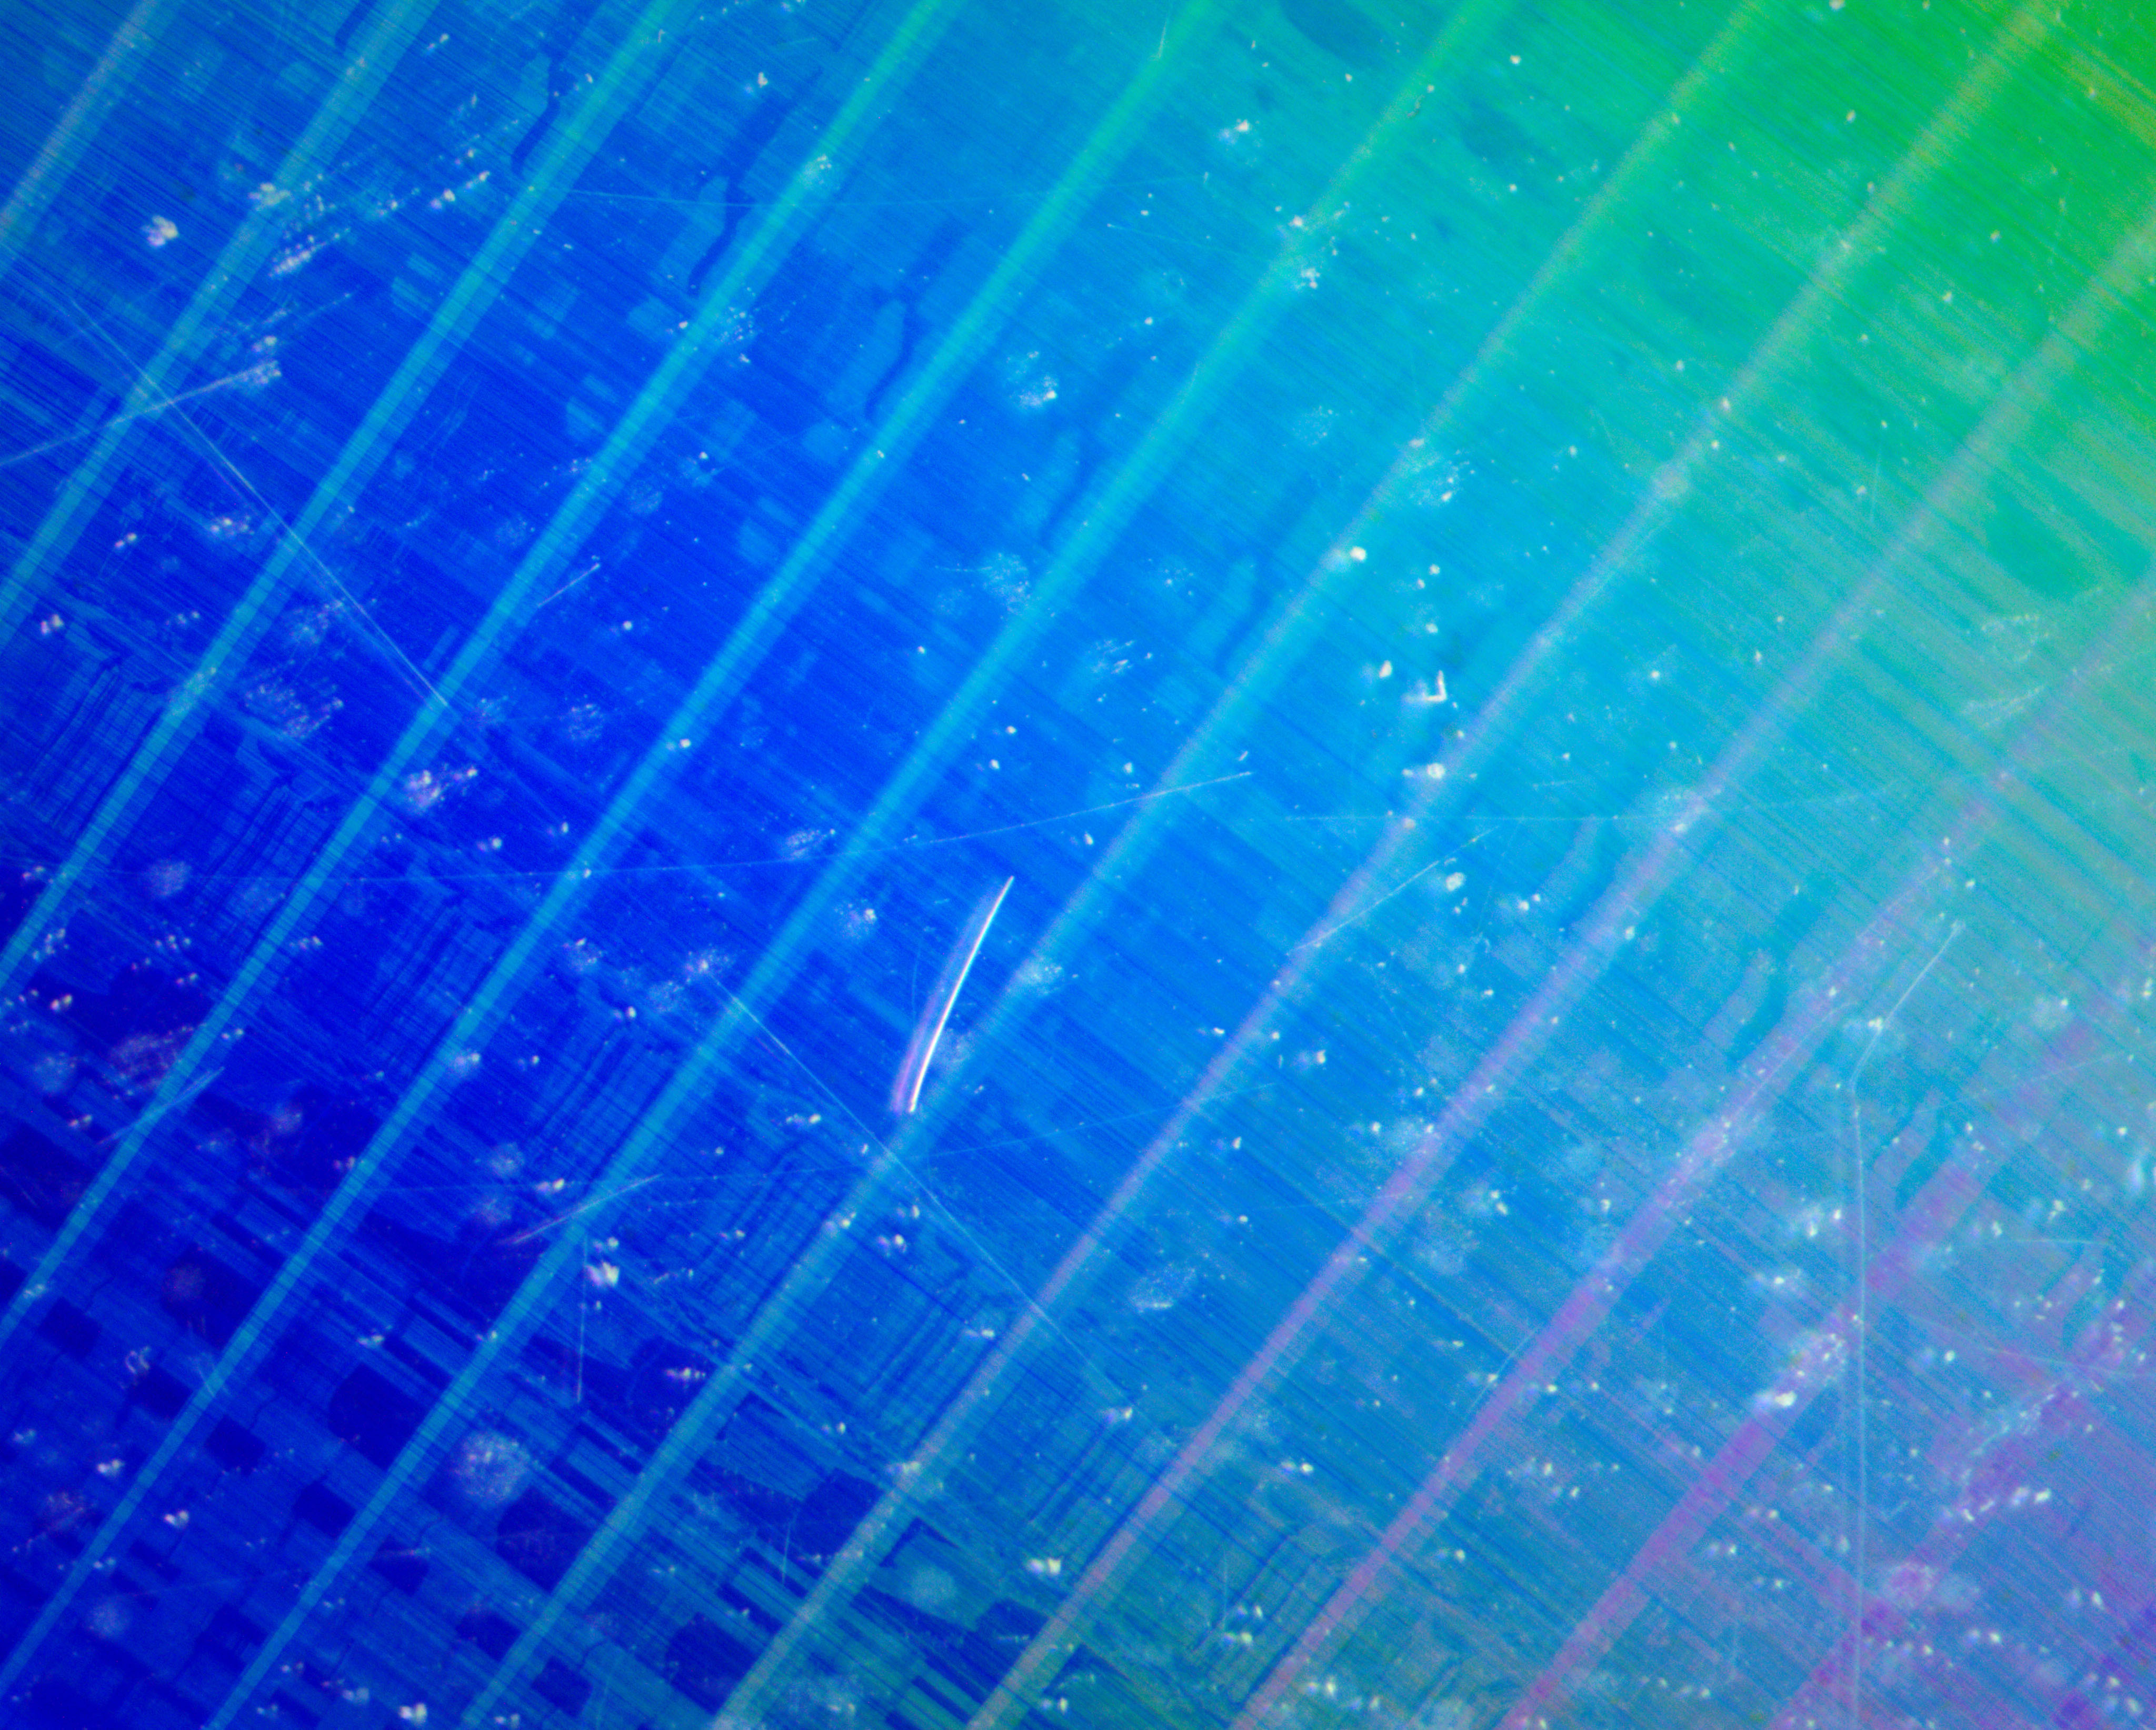
As can be seen in the image above, it is likely that the disc's surface is covered in dust and well as minor scratches.
Initial cleaning of the disc
It is important that particles on the disc's surface are removed as a first step as there is the possibility they will further scratch the surface as the disc is cleaned. Therefore, the first step is to use a small piece of Novus cloth and isopropyl alcohol to both remove the particles and the oil.
Since the particles can scratch the disc surface, this should be performed using even wipes from the centre of the disc to the outer edge. This ensures that any extra scratches run perpendicular to the disc's track (scratches parallel to the tracks have a much greater impact on playback quality) and also causes particles to be pushed off the disc at the edge. There is no need to 'scrub' the disc; wipes should be gentle and even.
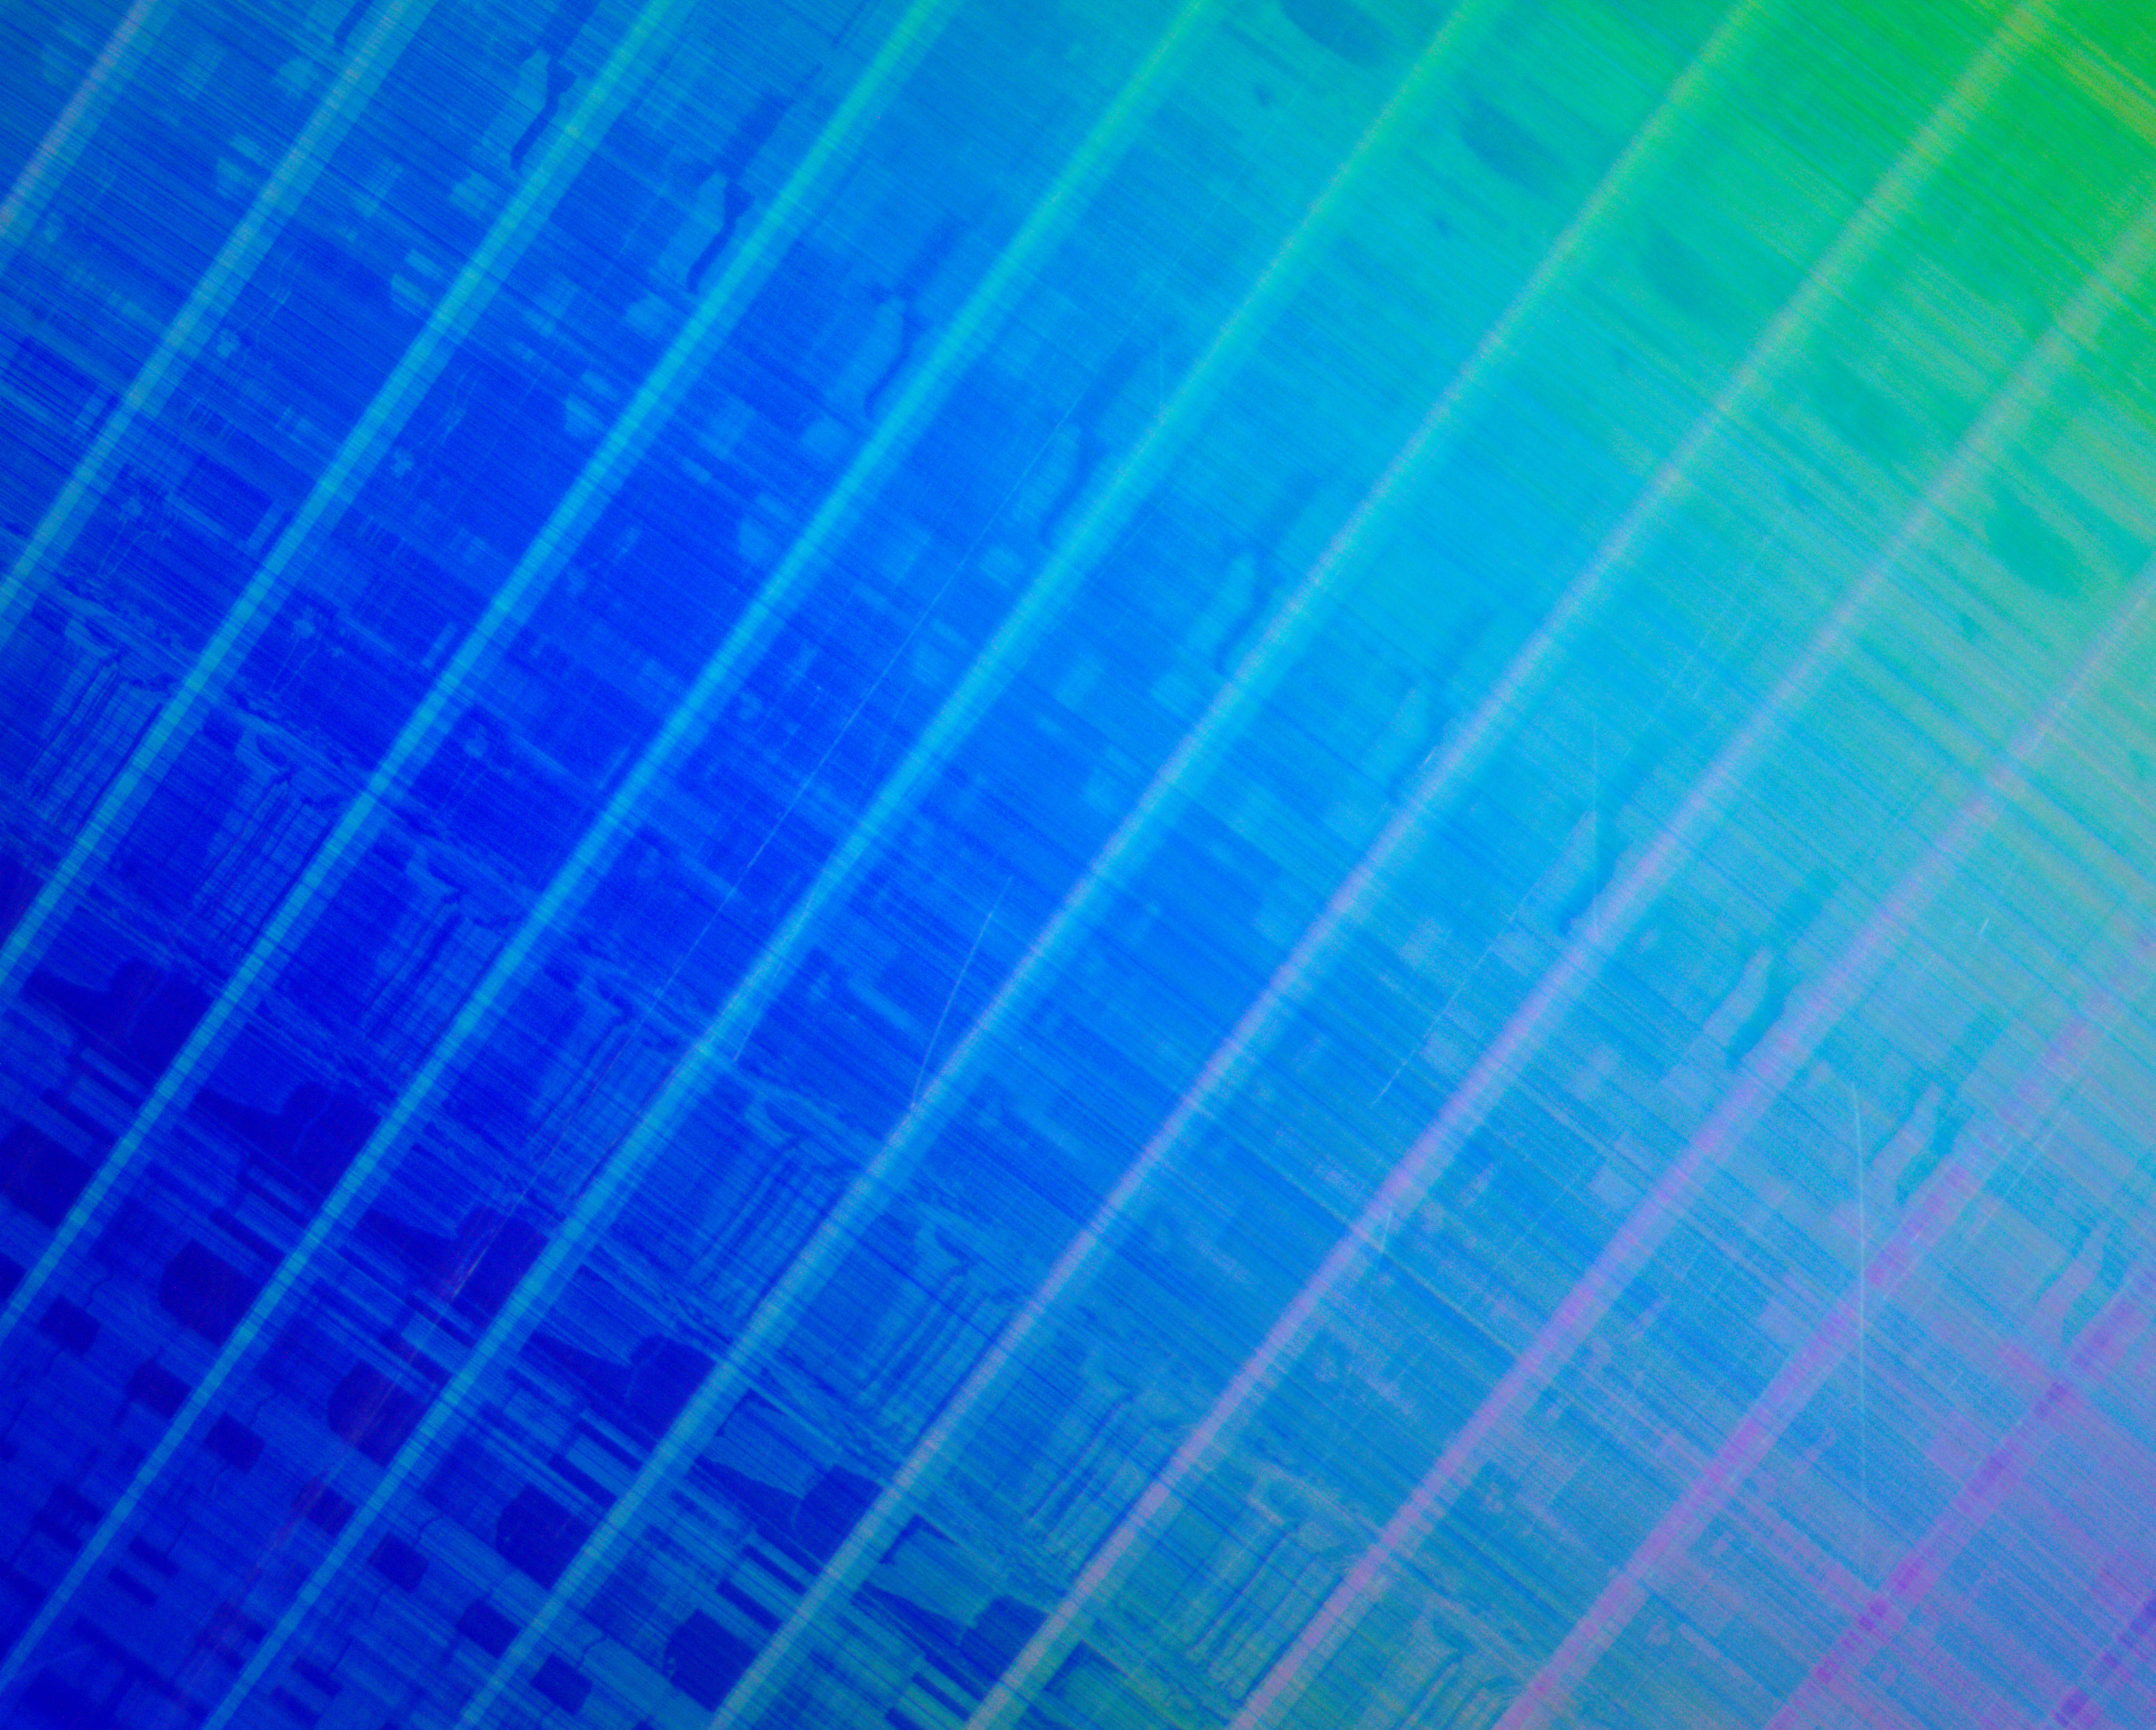
There may be some streaking on the disc surface from the IPA, however there is no need to remove the streaks at this stage. After cleaning with IPA the disc's surface will look similar to the following picture:
As can be seen in the photo above, the initial clean with IPA has removed the surface contaminants however scratches remain and will require polishing to remove.
Polishing the disc
In order to polish the disc (if required) you will need to use Novus 2 fine scratch remover. A small blob of the polish should be placed at regular intervals around the disc. Using a Novus cloth gentle wipe the polish into the disc's surface from edge-to-edge. Since there are no contaminates you can work the polish back and forth from the inner and outer edges (avoid polishing in the direction of the track as the polish is abrasive and will cause small scratches as it is used). Pay additional attention to visible scratches, but do not over polish as the process removes plastic from the surface.
Note that, if polishing is not required, you should skip this step and go to the final cleaning stage instead.
To use the polish first go around the disc evenly distributing the polish over the surface then, with a clean section of cloth, buff the polish into the surface until the polish is removed from the disc. You will need to change the cloth area several times to ensure all the polish is removed.
Once complete the disc will have a surface as shown in the following picture:

As can be seen in the photo above, the Novus 2 polish has removed the major scratches, however additional minor scratches have been created by the polishing (these run perpendicular to the disc's track due to the direction of polishing specified above).
Final cleaning
Final cleaning is performed using a clean cloth and Novus polish 1 (plastic clean and shine). This polish is far less abrasive than the number 2 polish used in the previous step.
In order to clean the disc put blobs of the polish around the disc (you will need more of the number 1 polish than used in the number 2 polish step as it is far more liquid). Unlike the previous steps it is now necessary to clean the disc using small circular actions. This is necessary as you must polish in all directions (including parallel to the disc's track) to remove the small scratches left from the previous steps. Again, polishing should be gentle and performed until there is no polishing liquid left on the disc's surface.
The final step leaves the disc's surface as clean and scratch free as possible as shown in the following photo:
Conclusions
As can be seen in the final microscope photo the disc's surface is greatly improved by the described cleaning and polishing technique. This will provide less noise in the playback and less drop-outs (especially important when capturing discs using the Domesday Duplicator).
Many different techniques were attempted (on an old, common LaserDisc) before arriving at the described procedure with careful step-by-step verification of each stage using a microscope in order to ensure that the final described cleaning process is effective. However, please note that cleaning and polishing LaserDiscs can never be a risk-free process - and cleaning discs should be done with caution. It is recommended to try out the process on common, easily replaceable discs before attempting on more valuable titles.